
You want to try Midjourney and create cool AI images on Discord? Great.
Midjourney allows you to generate beautiful, AI-powered images directly on Discord, with no expensive setup or high-end hardware required. All you need is a Discord account and an active Midjourney subscription.
It’s not hard at all. Here, you will get to know how to use Midjourney on Discord. I’ll walk you through a step-by-step guide to AI Image Generation.
Whether you’re an artist, a content creator, or just love playing with AI tools, this guide is for you.
Quick Steps - How to Use Midjourney on Discord?
→ Go to midjourney.com and choose a plan.
→ Use this invite discord.gg/midjourney
→ These channels are designed for image generation.
→ Type /imagine, enter your Prompt, and press Enter.
→ Required before generating your first image (Terms of Service).
→ Use buttons below the image:
     U1–U4 = Upscale/select image
     V1–V4 = Make variations
     🔄 = Re-roll prompt
→ Zoom out, pan, vary image, or favourite your best creations.
→ Click to open, right-click to save or (long-press on mobile).
→ You can use the bot in private messages (DM).
→ Use /help, /ask, or visit the #support channel.
What is Midjourney?
Midjourney is a tool that turns your written words (called prompts) into amazing images using artificial intelligence. The best part? You use it right inside Discord, no need to download any apps.
Before You Begin: Midjourney Subscription Required
You must first subscribe to a Midjourney plan to begin creating images. The subscription process is straightforward.
Now, visit the official Midjourney website, sign in, and choose a plan that fits your needs.
Once your subscription is active, you’re ready to enter the world of AI image generation.
How to use Midjourney on Discord step-by-step guide
Follow the points below to use Midjourney AI art generator on Discord.
1. Join the Midjourney Discord Server
You have to join the Midjourney server on Discord to access the Midjourney bot for image generation.
a) Open Discord on the browser.
b) Click the “+” icon to add a server.
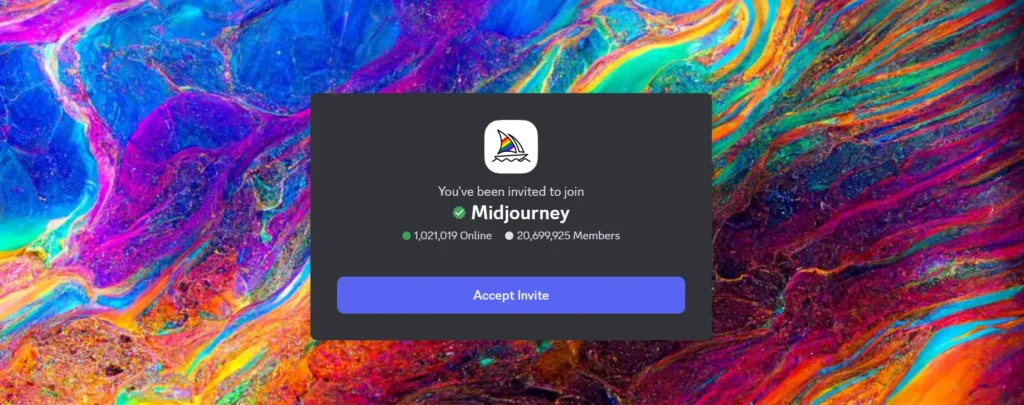
c) Select “Join a Server” and enter this invite link: discord.gg/midjourney
d) Click Join to access the server.
This will give you access to several dedicated channels where you can start generating your images.
2. Join a Newcomer channel for Image Generation
Once you access the Midjourney server, you’ll see a list of channels on the left side for Newcomer.
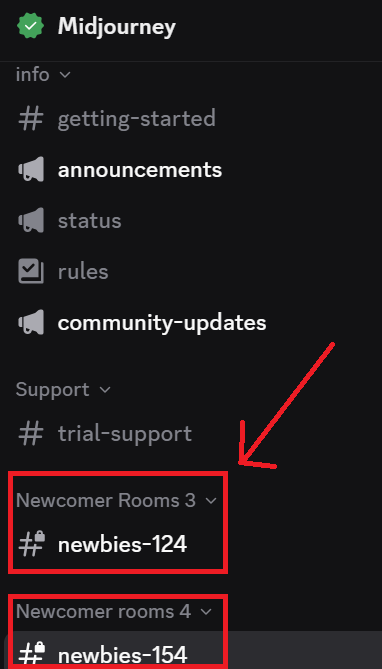
1. On the Midjourney Server:
Look for channels named #general or #newbie. These are made for beginners to try out the Midjourney Bot.
Note: The bot only works in these specific channels.
2. On Other Discord Servers:
If another server has added the Midjourney Bot, you can use it there too. Just check that server’s instructions to find the correct channel for using the bot
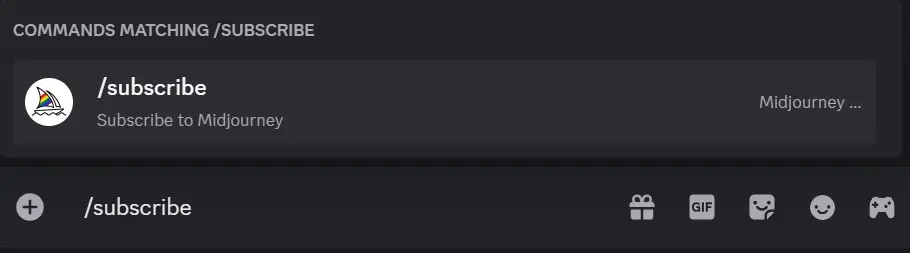
3. Type /subscribe to the Midjourney
Don’t worry, this won’t interrupt any ongoing conversation. The bot channel is made specifically for this purpose, so your message will simply send a command to the Midjourney bot.
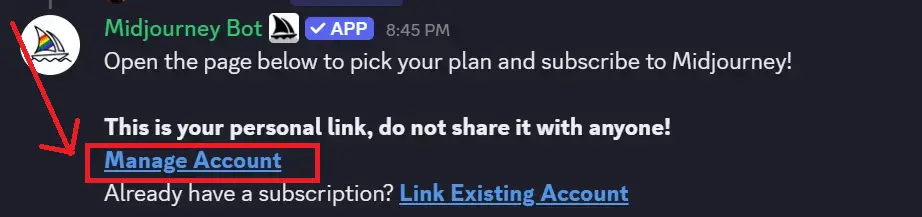
You’ll then receive a direct message from the bot with a unique link just for you.
4. Click the link in the DM.
If you’re asked to confirm, click Visit Site. Because some users abused free trials, Midjourney no longer offers unlimited free access. Instead, shorter free trials are occasionally available during new version releases.
The bot’s DM will appear in the lower-left corner of your Discord window with a red notification icon.
5. Select a plan and click Subscribe
You can switch between annual and monthly billing by using the blue text under the Subscribe button. After subscribing, return to Discord to start creating your first image! You can make your images in the newbie channel or invite the Midjourney Bot to your own Discord server.

6. Use the /imagine Command to Generate Images
The heart of Midjourney’s image creation lies in the /imagine command.
Here’s how to use it:
a) Type / in the message box in a supported channel.
b) Select /imagine from the list of available commands.
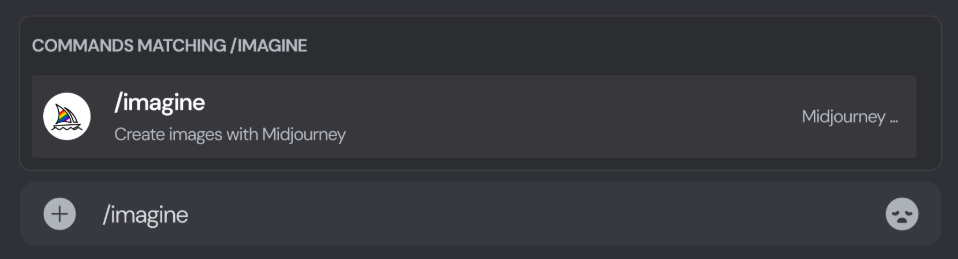
c) Enter your “text prompt” This can be anything from “a futuristic city at sunset” to “a cat wearing a suit in watercolour style.”

d) Now, press Enter or Send to submit your prompt.
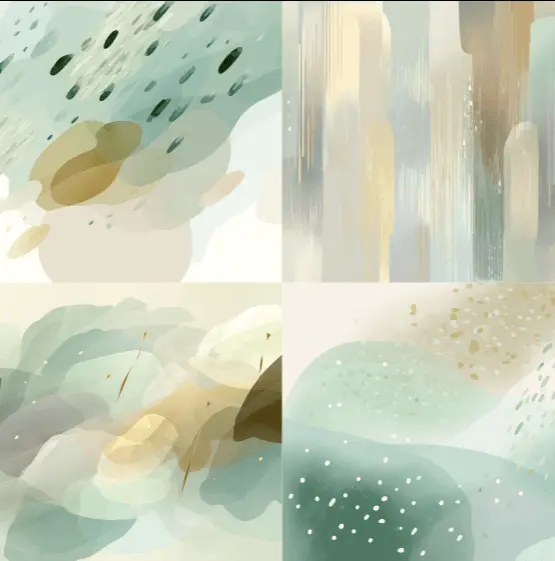
Midjourney bot will start creating your image based on the prompt you gave, and it will return four AI-generated images.
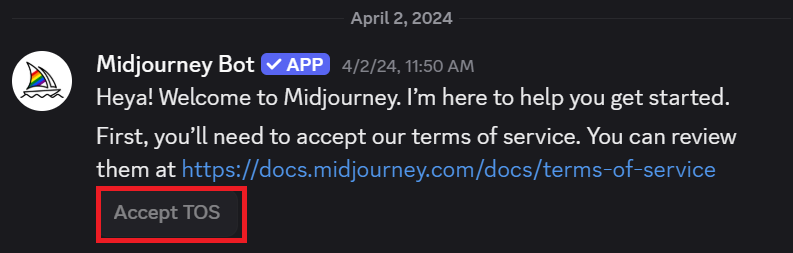
7. Accept the Terms of Service
Before you can start creating images, there’s one quick step you have to do is accept the “Terms of Service“.
When you first interact with it, Midjourney Bot will prompt you to agree to the terms, and it’s required. It’s a standard procedure.
So go ahead, give it a quick read and hit accept. Now, you are eligible to create images in no time.
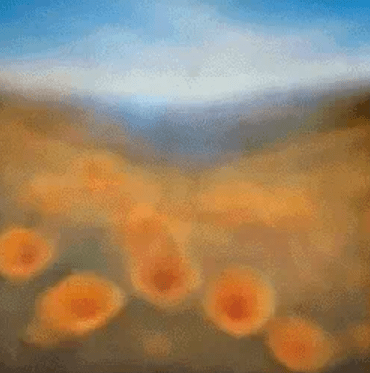
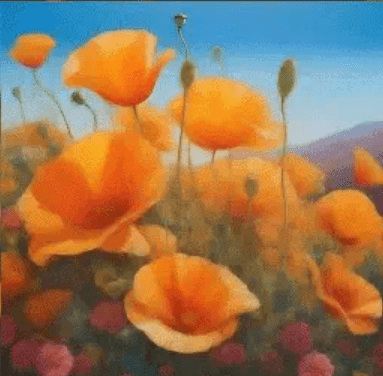
8. Turning Your Text Into Visual Art
What happens next when you enter your prompt?
The Midjourney Bot jumps into action. Within a few minutes, Midjourney delivers four completely original image options based on your text. Looks cool, right?
Now, here’s what’s working in the background: it uses powerful Graphics Processing Units (GPUs) to do the heavy lifting. Every time you generate images, you’re using a portion of your GPU time, which comes bundled with your Midjourney subscription.
if you want to check how much GPU time you’ve got left. Just type /info in Discord, and this command will show you your Fast Time Remaining, so you’ll always know how much creative fuel you’ve still got in the tank.
9. Review and Choose Your Image
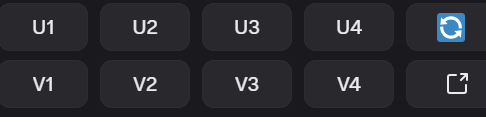
U1, U2, U3, U4 – Choose one buttons
Each one linked to a specific image in the grid. In older Midjourney versions, these “U” buttons were just for upscaling. But things have changed. Now, since the images are already cooked up at 1024 x 1024 pixels, these buttons do something cooler: they isolate the image you like. Once clicked, you get a clean version, ready to download. Plus, you unlock more tools to tweak and remix it however you want.
🔄 Re-run or Re-roll a Job
See that 🔄 symbol? That’s your redo button. when you’ll hit it, the original prompt will run again. No repeats, just a fresh grid with the same vibe. New angles, new variations, same idea.
V1 V2 V3 V4 – Image Variations
Now onto the “V” buttons. These are your creative playground. Let’s say you pick Image 2 and hit V2. Midjourney will generate a brand new grid, same style, same composition, just slightly different takes. Like alternate realities of the same picture. It’s great if you like the overall aesthetic but want to see a few twists on it.
So yeah, you’ve got options. A lot of them. You can lock in the image you love, redo the whole batch, or go chasing down variations until something just clicks. No wrong way to explore here, just follow your gut and enjoy the ride.
10. Enhance and Customise Your AI Images
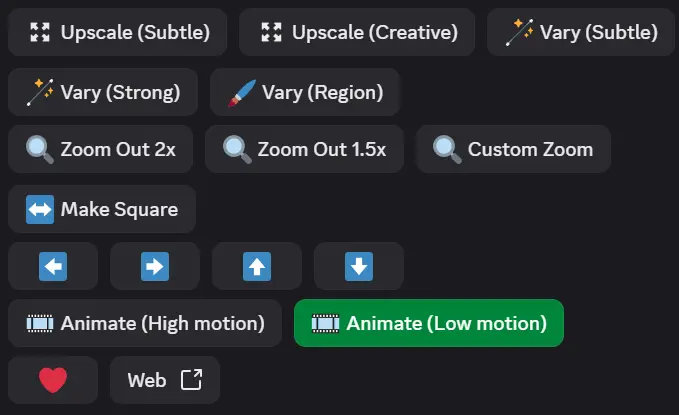
🪄 Vary (Strong) & 🪄Vary (Subtle)
You want a bold remix or maybe just a gentle shift? You’ve got both.
Tap Vary (Strong) for dramatic changes; it’ll keep the core idea but mix things up big time. Go with Vary (Subtle) if you’re after small tweaks that feel like soft brushstrokes, same vibe, just a little different. Either way, you’ll get a new grid of four variations to explore.
🔍 Zoom Options (Zoom Out 2x) (Zoom Out 1.5x) (Custom Zoom)
These zoom tools stretch your image beyond the original edges; it’s kind of like giving it more breathing room. The cool part? It doesn’t mess with what’s already there. Instead, it fills the extra space using your prompt and the image as a guide. You keep your image centre stage, just… with more of the scene.
⬅️ ➡️ ⬆️ ⬇️ – Pan Controls
Want to shift your view left, right, up, or down? That’s what these Pan buttons do. They expand the canvas in whichever direction you choose, without altering the original picture. The new areas? Midjourney fills them in based on the style and theme you already have going.
❤️ Favorite
Click that little heart to save an image you love. Makes it way easier to find later on your Midjourney account. Handy when you’re sorting through a bunch of creations and want to bookmark the best ones.
Web ↗️
This button takes you straight to your Midjourney gallery online. One click and boom, you’re on the site with your image ready to view, share, or download.
11. Save and Download Your Artwork
Do you want to download your image? Follow the below steps:
a) Click on the upscaled image to open it in full view.
b) Right-click (on desktop) and select “Save image as…”.
c) On mobile, long-tap the image and click the download icon at the top right.
All your images are also automatically saved in your gallery on Midjourney’s website.
Extra Features
| Zoom & Pan | Strong vs Subtle Changes | Saving Your Images | Want to Work in Private? |
| Zoom out to make your image wider | Strong = Big changes in image style | On computer: Right-click the image > Save | You can message the Midjourney Bot directly |
| Pan left, right, up, or down to grow your image | Subtle = Small differences | On mobile: Tap the image > Download icon | Use /imagine there |
| You can also use the ❤️ icon to favorite images |
Direct Message the Midjourney Bot
If you’re finding it hard to use the bot in public channels due to crowding or confusion, you can chat directly with the Midjourney Bot in a private message. Just type /imagine and your prompt as you would in a server channel.
Note: Even in private messages, your generated images are still public on the Midjourney website and must follow community rules.
Tips to Make Better Prompts
You can learn how to write effective prompts to get better image results.
Describing things like art styles, lighting, locations, or periods can greatly affect the look of your image. The more specific and creative your prompt, the better the output.
Want cooler results? Try this prompt:
- Be detailed: “cyberpunk cat with glowing eyes at night”
- Mention styles: “watercolour painting”, “anime style”
- Add emotion or atmosphere: “mysterious foggy forest”
Blend Your Own Images
You know what’s fun? Taking a couple of images you already have and letting Midjourney mash them together into something fresh.
The trick is simple — use the /blend command.
It’s a bit like giving two photos a conversation of their own and seeing what they decide to create. Sometimes the result feels like magic, other times it’s more of a “huh… interesting” moment, but that’s the beauty of it.
You can toss in snapshots from your phone, old design files, even random textures you’ve saved. Midjourney will find a way to fuse them into a new visual that’s partly yours, partly its imagination.
And hey, you don’t need to overthink it. Just try it, play around, and see where it goes. Sometimes the best blends come from the most unlikely combinations.
Midjourney Bot Help & Support
In case you need any help? you can do the following:
- /help – View available commands and useful tips.
- /ask – Get quick answers to your questions about Midjourney.
You can also visit the #support channel on the Midjourney server for real-time assistance. People in the server are very helpful!
Billing and Subscription Support
If you have any issues with your subscription, maybe a payment hiccup or trouble moving to a bigger plan, don’t overthink it.
Just go to the Billing Support section on midjourney.com.
They handle everything related to your account and billing.
Final Thoughts
Midjourney makes it super easy to turn your ideas into pictures. It’s fun, creative, and all you need is a few words and a bit of imagination.
Don’t be afraid to try new things, weird, magical, funny, anything goes!
FAQs – Quick Answers
1. Is Midjourney free?
Yes, you get 25 free images in the new Midjourney version launch. After that, you need to subscribe.
2. Can I use it on my phone?
Yes! Discord works on mobile too.
3. What is upscaling?
It makes your image clearer and larger.
4. Are private images really private?
Not fully. Even if you DM the bot, images may show up online.
5. Can I sell the images I make?
Yes, if your subscription allows commercial use. Check Midjourney’s rules.
Also Read –