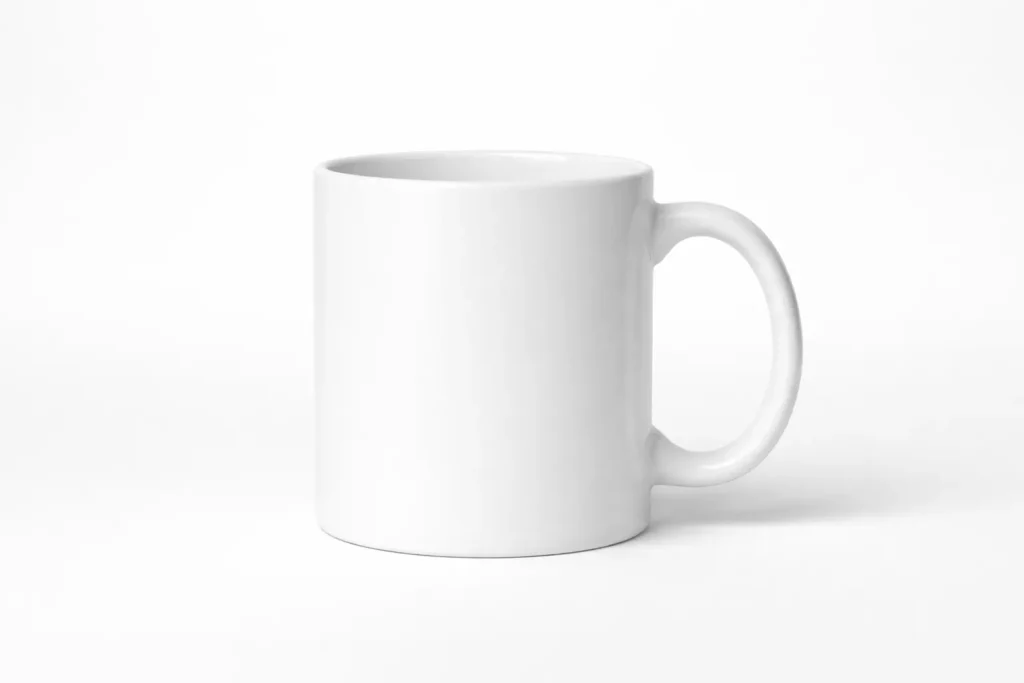
Product mockups play an essential part in today’s branding as well as e-commerce and marketing workflows. They assist teams to visualise products prior to production, test designs quickly, and design stunning visuals that aren’t the expense of traditional photo shoots. With MidJourney, creators can now create realistic, studio-like mockups of their products with only appropriately crafted prompts.
But the results are contingent on how the prompts are drafted. Inputs that are vague or random often produce unclear images that are hard to use professionally. This is why knowing the actual workings for you in MidJourney Product mockups and prompts for product design is crucial. This article explains Product Mockup Prompts That Work in MidJourney, detailing established prompt structures as well as practical workflows and real-world examples that will help you create precise, repeatable, and economically advantageous mockups, without any guesswork or testing.
What is MidJourney?
Midjourney is an AI-powered image generation system that creates images by interpreting text-based prompts. Instead of manually creating images, the users simply describe what they want to say in words, and MidJourney converts these descriptions into high-quality pictures using sophisticated computational AI models.
MidJourney is extensively used for conceptual artwork, product mockups, illustrations for branding, visuals and for creative experimentation. MidJourney is an excellent tool for creating visually stunning, stylish and real-looking images when the prompts are clearly written about the subject matter, lighting, composition, and mood.
What is the importance of prompt structure in mockups?
MidJourney is highly effective, but it reacts to visual cues, not abstract briefs. Generic prompts produce artistic art. Product photography-grade mockups need precise, repeatable language regarding subjects, materials, lighting, camera output parameters, and composition. Use your prompt like a brief photography short, such as subject, location, materials, camera, and mood finishing parameters. This method is suggested in official guidelines as well as by design groups that use MidJourney for visuals of products.
Product Mockup Prompts That Work in MidJourney: A practical prompt formula you can reuse
Make use of this template as a base to modify the specifics of the product you want to sell:
[Subject + SKU details] + [Scene: hero / lifestyle / packaging] + [Materials / texture detail] + [Lighting & camera specs] + [Composition / perspective] + [Style & mood] + [Output params]
Example filled-in formula:
A stunning shot of a matte white 250ml serum bottle, with a minimal design (logo placeholder) set on a white marble plinth, softly directionally-oriented studio key light with a shallow depth of focus 50mm lens, top-left lighting rim, photographic realism high-detail “ar” 4:5 –v 6 –s Q 2 seed 12345
This pattern has been widely used in the most recent prompt collections as well as tutorials on how to create packaging and images for products.
Critical components: Which should always include?
- The exact description of the product, Size and colour, as well as the finish (glossy/matte), Label placeholder, and quantity of items. Uncertainty causes problems with reproducibility.
- Cues for texture and material -“matte ceramic” “, matte ceramic”, “frosted glass”, “embossed paper” -MidJourney MidJourney is responsive to tactile words.
- Camera and lighting — “softbox the key light”, “rim light”, “shallow depth of field”, “50mm f/1.8” to control the photorealism.
- Composition and context heroes (plain background), or lifestyle (scene and props), or a packaging spread (flat laid). Decide in the early stages.
- Parameters – aspect ratio (–ar), Version (–v), stylise (–s), quality (–q), and seed to ensure uniformity. Keep good seeds.
Workflow to ensure consistent mockups that are on-brand
- Make a brand brief. Include the colours (hex codes) and permitted types of treatment (e.g., “no script fonts”) and props to stay clear of. This helps to avoid inconsistencies in outputs.
- Run the base hero shots, begin with a blank background, and a few props to the camera and dial lighting. Save the best shot as well as the seed.
- Generate variations – use the seed you saved and alter only the colour or text on labels to create uniform SKU images. Utilise the seed option and use the exact light/camera words.
- Create lifestyle comps. Once your hero shots are taken, duplicate the prompts, adding context (tabletop hands, plants), but make sure that the lighting and camera are constant.
- Post-processing for polish used for product use (e-commerce advertisements, e-commerce). Bring photos into Photoshop to put logos exactly or correct the perspective using smart objects, or to remove artefacts. Many designers use a combination of MidJourney + Photoshop.
Product Mockup Prompts That Work in MidJourney: Important parameters
- Aspect ratio (–ar) The best ratio is 4:5 for hero shots of e-commerce, 1:1 for social, 16:9 banners.
- Stylise (–s): Lower values (<100) encourage realism, higher values promote artistic interpretation.
- Quality (–q) Quality (–q): Quality (–q) 2 improves render quality but is more costly when used to create final assets.
- Seed Save it to create the same camera/lighting for all SKUs.
- Version (–v) and Remix Version (–v) and Remix: Use the most recent model version that is recommended for better photorealism, and the Remix feature to explore variations.
Product Mockup Prompts That Work in MidJourney: Ready-to-use prompt examples
(Replace placeholders with [HEX] ], [LOGO_PLACEHOLDER] and product specifications. )
- Hero Bottles for E-Commerce: It’s a studio hero image of a 250ml frosted, frosted glass bottle with a minimalist label, [LOGO_PLACEHOLDERSoftbox Key Light and a light rim that is not too bright. Marble plinth with a shallow depth of field, 50mm lens, photographic realist, high quality –ar 4:5 –v 6 40 –q2 Seed 98765.
- Flat-Lay Packaging: Top-down mockup of five lipstick containers arranged in grids, matte cardboard, the foil embossed logo as a placeholder, smooth, neutral paper background, even soft, thin flat lay HDR high-detail” ar 1:1″ –s 6 –q 2.
- Scene of a Lifestyle: Hands hold a stainless steel travel mug, an urban coffee table, early morning sunlight Cinematic, shallow field of view natural props (book or plant) Warm mood realistic –ar 3:4 V 6 — S 30 — Q 2 Seed 13579.
Make these your starting points and modify the material, lighting and seeds to ensure consistency. A variety of prompt collections and guides contain similar examples that have been tested and proven in battle.
Product Mockup Prompts That Work in MidJourney: Practical and legal hints
- Marks and Logos: When you are planning to make use of your logo for commercial purposes, avoid creating trademarks that are protected or using them with permission. When creating the final artwork, you should put your logo vector in post-production instead of depending on AI to replicate the exactly-designed trademark.
- Model Changes: MidJourney’s parameters as well as features change; make sure to check official docs for updates to the –stylise option, as well as commercial terms.
Final Tips
- Keep a library of prompts and keep track of seed aspect ratios, as well as the exact words that were successful.
- Start minimal (hero shot) before adding complex props.
- Make use of uniform lighting and camera language to create an authentic set of assets.
Final Thoughts
MidJourney is more than simply an artistic image generator. When used correctly, it could be a highly effective mockup engine that can be used by product designers, marketers, and digital creators. The key to success is the ability to be prompt and disciplined. The clear product description, the realistic materials, as well as controlled lighting, language and consistent settings make the distinction between abstract images and professional mockups.
Instead of searching for overly complex prompts, concentrate on consistency and clarity. Keep your top seeds, make sure you standardise lighting and camera terms, and create a prompt library that matches your branding. For commercial workflows, mix MidJourney outputs with post-processing light for precision and smoothness.
FAQs
1. Can I make use of MidJourney mockups for commercial purposes?
MidJourney’s terms of service and licensing have evolved in the past. Find the most current MidJourney’s commercial policy, and think about putting together logos and designs in vector-based tools for use in production.
2. How can I create the same images for different SKUs?
Keep the top seed from your preferred render and then reuse the prompt design, camera/light wording, and –seed. However, you can only swap the colour or label information.
3. Which aspect ratio is ideal for photos of a product?
4:5 (vertical) generally works best for hero shots of e-commerce, 1:1 for social media posts, and 16:9 for banners.
4. Should I include my real logo on the prompt?
It’s more secure and manageable to create the “logo placeholder” in MidJourney and to add your personal logo using Photoshop or an application for layout to ensure perfect line-up and high-quality vector.
5. What happens if MidJourney creates artefacts that aren’t needed on labels?
Make use of Photoshop to paint or replace areas of the label with smart objects after exporting. Try lowering the –s or using more explicit label language on the screen.
6. Any quick prompt hacks for photorealism?
Include specific lens/camera terms such as “photographic Realism”, “high detail” and employ a lower stylised value. Use –q 2 sparingly to render final renders.
Also Read –
Best MidJourney Prompt Formula (With Real Examples and Tips)